

When your feet are sensitive, every step is a decision. I have lived with peripheral neuropathy in both feet for about eight years, and my husband Dale is a few years behind me with the same trouble. Numb toes, burning at night, and a constant worry about whether a shoe is rubbing somewhere I cannot feel. Some mornings I can feel every pebble through the sole of my shoe. Other days I cannot feel a thing and have to look down to know my foot is on the ground. That strange mix is why a good insole is not a luxury for us. It is part of how we stay on our feet.
We tried the wrong answers first. We bought cushiony insoles that felt great in the store and went flat in a month. We bought firm insoles that pressed exactly where Dale cannot feel anything. It took a visit to my podiatrist and a slow, careful process at home before we found what works. That process is what I want to share with you here. For Dale, the pair that finally stuck is the Dr. Scholl's Heavy Duty Support Insole Orthotics for Big & Tall men, and the steps below are how we got there.
The Insole That Finally Worked for Dale
The Dr. Scholl's Heavy Duty Support Insole for Big & Tall men is the pair Dale wears in his work boots and his wide everyday shoes. Firm arch support, shock absorbing foam, and trim-to-fit edges that let us match each shoe instead of the other way around.
Amazon Check Today's Price on Amazon →The Two Mistakes That Sent Us Back to the Drawing Board
The first mistake was buying the softest thing on the shelf. Dale came home with a pair of memory foam insoles that felt like pillows, and for two days he was happy. By the end of the first week they were flattened at the heel, and his feet ached worse than before because nothing was holding his arch up. Soft is comfortable for an hour. Firm support is comfortable for a full day.
The second mistake was buying insoles with an aggressive arch that pushed up hard into the middle of his foot. On a foot with normal feeling, that pressure is a signal to adjust. On Dale's foot, the signal never arrived, and he wore them for three days before I noticed a red mark during our evening check. We threw them out that night. That is when I called my podiatrist and asked her to walk me through what actually matters in an insole for a numb foot.
She told me the same thing she tells everyone with neuropathy: look for firm arch support, shock absorption, and even pressure distribution, and stay away from hard plastic shells and tall rigid arches. She also told me to check my feet every evening and to come in right away if anything looked off. That advice shaped every step below.
Step 1: Start With a Foot Check and a Conversation With Your Doctor
Before you buy anything, look at your feet. I check mine every evening with a hand mirror, and I have done it for years. You are looking for cracked skin, calluses, red spots, or any sore you did not know was there. If your feet are numb, a sore can start and get worse without you feeling a thing. A mirror catches it early, and early is when it is easy to handle. I also run my fingers along the bottom of each foot, because sometimes a spot feels different before it looks different.
Dale does the same check now, and so should anyone with diabetes or neuropathy. If you find anything that is not a normal dry patch, call your podiatrist before you shop for insoles. My podiatrist is the one who told me to look for insoles with firm arch support and pressure distribution instead of just soft foam. That single sentence saved us from another round of trial and error.
This step matters because insoles change where pressure lands on your foot. If you already have a tender spot, the wrong insole can make it worse without you feeling it. A quick check and a short conversation with a professional is the cheapest part of this whole process, and it is the one that protects you the most.
Step 2: Measure Your Feet the Way Your Shoes See Them
Feet change. They get wider, the arches settle, and a size you wore at forty is not the size you wear at sixty. Dale wears a men's size 12 wide, and he was surprised how much wider his feet had gotten since he retired from the machine shop. Measure your feet at the end of the day, when they are at their largest, standing up with your weight on them.
The easiest way is to trace each foot on a piece of paper and measure the length and the width at the widest part. Do both feet, because they are rarely identical. That tracing tells you two things: the size you need, and whether you need a wide cut. It takes about five minutes and saves you from guessing. The Dr. Scholl's Heavy Duty Support Insole comes in a Big & Tall men's cut that is made for larger, wider feet, which is exactly what Dale's tracing showed.
One more thing about measuring: insoles are sized to the shoe, not to your bare foot. A trim-to-fit insole like this one is meant to be cut down to the inside of your boot or shoe, so the tracing helps you buy the right size range, and the trim lines do the rest. Keep the original insole that came with the shoe, because it is your best template.
Step 3: Match the Insole to the Shoes You Actually Wear
An insole that is perfect in your sneakers can be miserable in your work boots. Dale spends his days in a pair of wide work boots and his evenings in casual shoes, and the two needed different things. The boots needed shock absorption for hard floors and concrete. The everyday shoes needed steady arch support for standing and walking around the house.
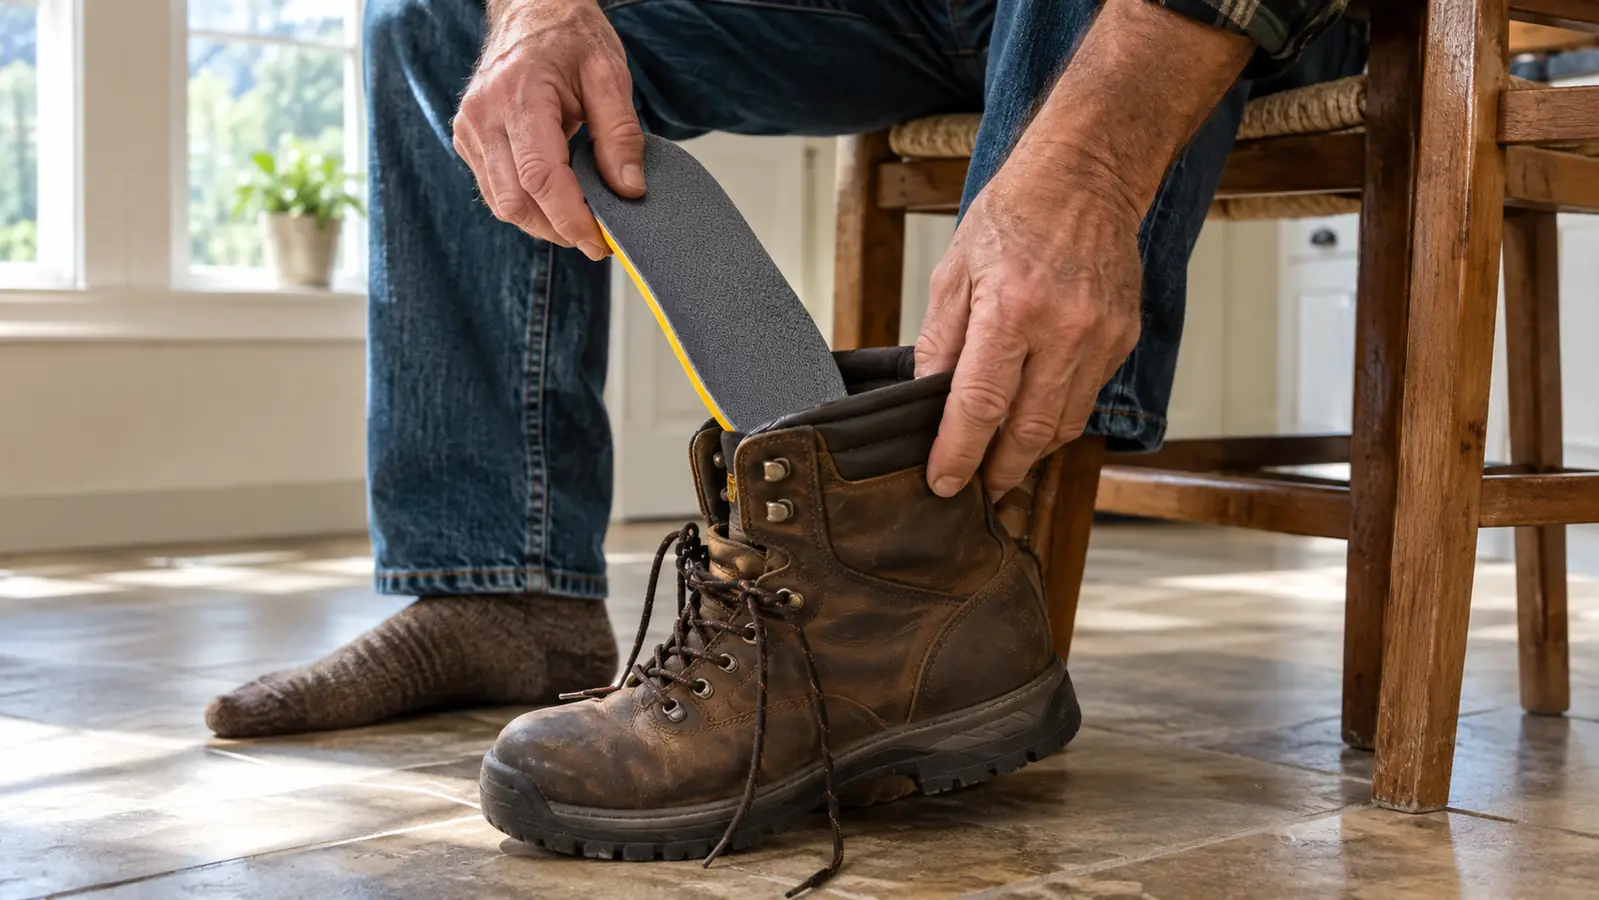
Before you buy, pull the insole out of the shoe you plan to use most and lay it on top of the new one. If the new insole is bigger, that is expected with a trim-to-fit design. Trace the old insole onto the new one, cut along the line, and slide it in. The Dr. Scholl's Heavy Duty has clear trim lines and a design that works in work boots, hiking boots, and roomy everyday shoes.
If you wear several pairs of shoes, my advice is to buy one pair of insoles for the shoes you wear the most and test them there before you buy more. Dale started with his work boots. After two weeks of all-day wear, we trimmed a second pair for his everyday shoes. That way we did not end up with a style that did not work for him.
Step 4: Look for Support That Does Not Fight Your Feet
This is the step where most people go wrong, and I know because we did. Soft, squishy insoles feel wonderful for the first hour and then collapse, which leaves your feet doing all the work. Hard insoles with aggressive contours press into the arch and the ball of the foot, and if you have numbness, you cannot tell how much they are pressing until the damage is done.
What you want is firm support with some give. The Dr. Scholl's Heavy Duty Support Insole has a firm arch support that holds the foot in place, shock absorbing foam that takes the sting out of hard floors, and a design that distributes pressure across the whole insole instead of concentrating it in one spot. For Dale, that combination meant his weight spread out evenly, and the ball of his foot, where he has the most numbness, stopped taking the brunt of every step.
When you are comparing insoles, ask three questions. Does the arch support match the shape of your foot or fight it? Does the material absorb shock or just feel soft? Does it distribute pressure or create a new pressure point? If you cannot feel a pressure point, you cannot fix it, so choose the insole that spreads everything out. And if a pair feels wrong on the first day, do not force it. Your feet are giving you information, even when the message is faint.
Step 5: Break Them In Slowly and Check Your Feet Every Day
The first day Dale wore the new insoles, he kept them in for two hours and then pulled them out. Not because they hurt, but because that is the rule we made: start slow and look at your feet afterward. He checked for red marks, hot spots, or any place where the insole pressed too hard. There were none, so the next day he went to four hours, then a full day, then a full week.
That daily check is not optional for us. Dale cannot feel a blister forming on the bottom of his foot, and neither can I. Every evening we do the mirror check and run a hand over the soles of our feet. We also check his shoes before he puts them on, because a folded tongue or a loose liner can bunch up and rub in a spot he cannot feel. If you notice a new sore, a change in color, or a spot that feels warm to the touch, stop wearing the insoles and call your podiatrist. That is not being overly careful. That is how you stay ahead of trouble.
After about ten days, Dale stopped thinking about the insoles, which is exactly the result we wanted. The burning at night did not vanish, and I will not pretend it did, but the deep ache after a day on his feet got quieter. That is the realistic win we were after.
How Long It Took Before We Knew They Were Right
The honest answer is about two weeks. The first two days were just getting used to the feel of a firmer surface under his feet. By the end of the first week, Dale was reaching for his boots without thinking about it, which had not happened in months. By the second week, the insoles had molded to the shape of his boots, and the daily check turned up nothing but normal wear.
I want to be honest about what the insoles did not do. They did not stop the burning at night or bring back the feeling in his toes. Nothing we have tried does that, and I would not trust anyone who promises it. What they did do was take away the deep ache in his arches and heels after a day on his feet, and that is a real, measurable difference in a household where every step matters.
What Else Helps
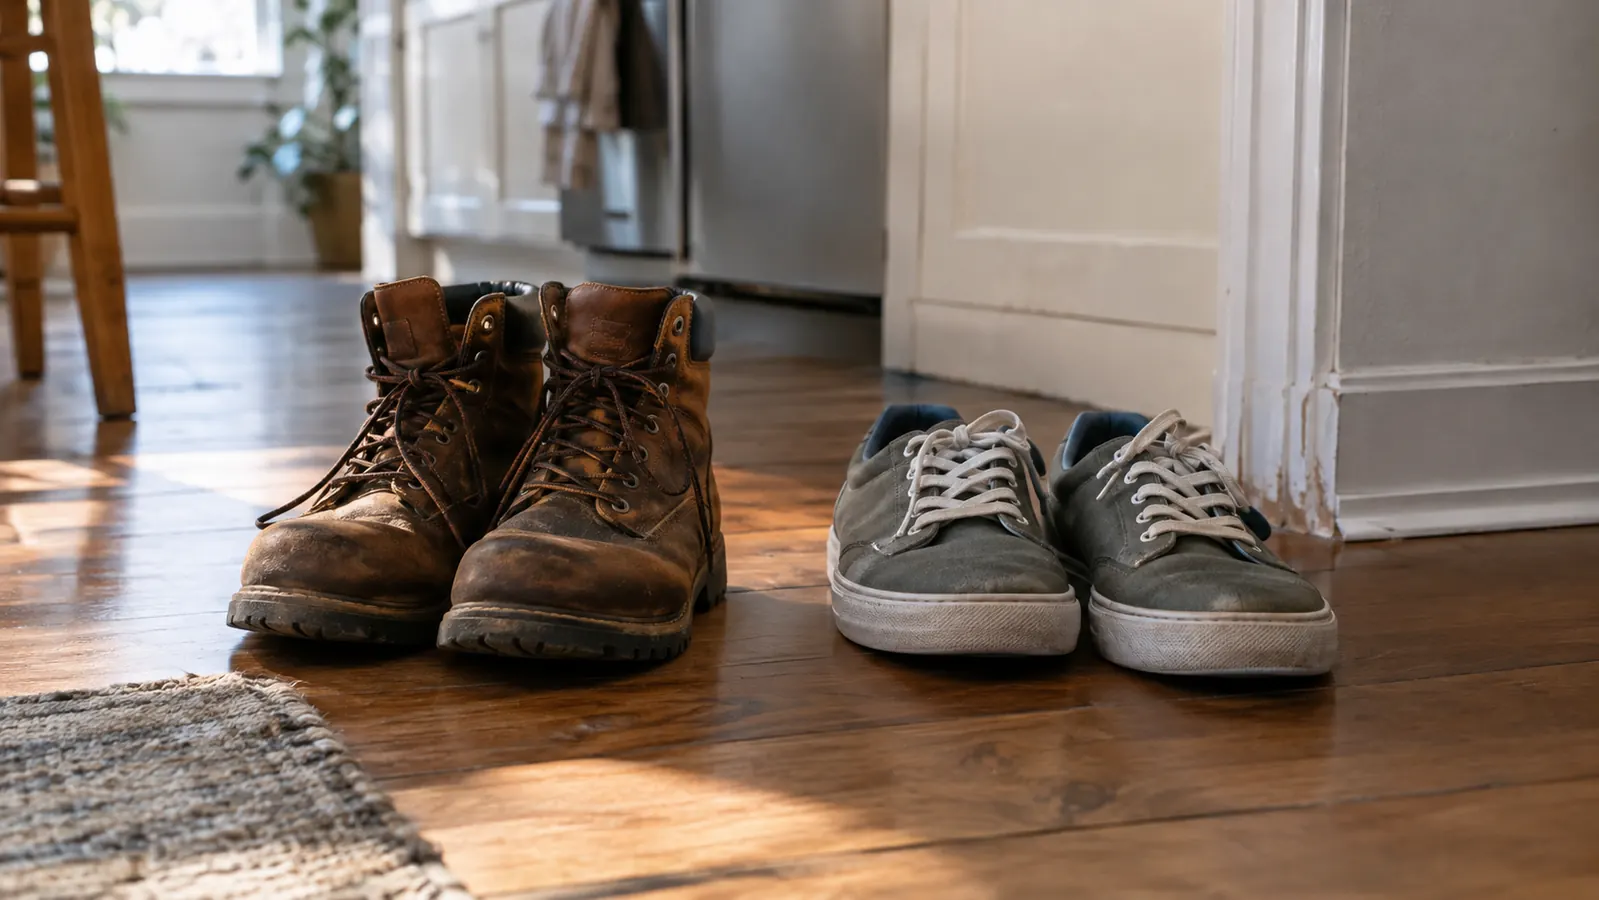
A good insole is one part of a routine, not the whole answer. Socks matter. Dale wears padded socks without thick seams, and I wear the same. Look for socks with smooth seams and a little padding under the heel and the ball of the foot, and avoid anything that bunches up around the toes. Shoes with a wide toe box give your toes room to spread. We keep our feet clean and dry, trim our toenails straight across, and shake out our shoes before we put them on, because a small pebble you cannot feel can cause a sore you can.
I walk about twenty minutes most mornings, and keeping blood sugar steady is the thing my doctor talks about at every visit. If you use a foot massager, keep the heat setting off on numb feet unless your doctor says otherwise, because you cannot feel a burn you cannot sense. Stay on your routine foot checks, see your podiatrist every few months, and treat insoles as one comfortable layer in a bigger plan.
Dale wore the trimmed Dr. Scholl's insoles for four full days before he stopped mentioning his feet at all, and that is the closest thing to a win I know.
The Next Step Is a Mirror, a Ruler, and Twenty Minutes
You can buy insoles by guesswork and hope, or you can take the slow, careful path we took. Check your feet, measure them, match the insole to your shoes, and try the Dr. Scholl's Heavy Duty Support Insole for Big & Tall men in the pair you wear most.
Amazon Check Today's Price on Amazon →